Image Classification
The tutorial explores the basis of image classification task. In this document, we will go through a concrete example of how to train an image classification model via our AI training platform. The dataset containing bees and ants is provided.
Image Classification is a fundamental task that attempts to classify the image by assigning it to a specific label. Our AI training platform provides the training script to train a classification model for image classification task.
# Prerequisites
First of all, we have to install the libraries. Python 3.6 or above is required. For other libraries, you can check the `requirements.txt` file. Installing these packages is simple. You can install them by running:
```
pip install -r requirements.txt
```
# Dataset & Preparation
Next, we need a dataset for the training model.
## Custom Datasets
You can train the model on a custom dataset. Your own datasets are expected to have the following structure:
```shell
- Dataset name
-- train
--- Class1
--- Class2
-- val
--- Class1
--- Class2
```
## Example
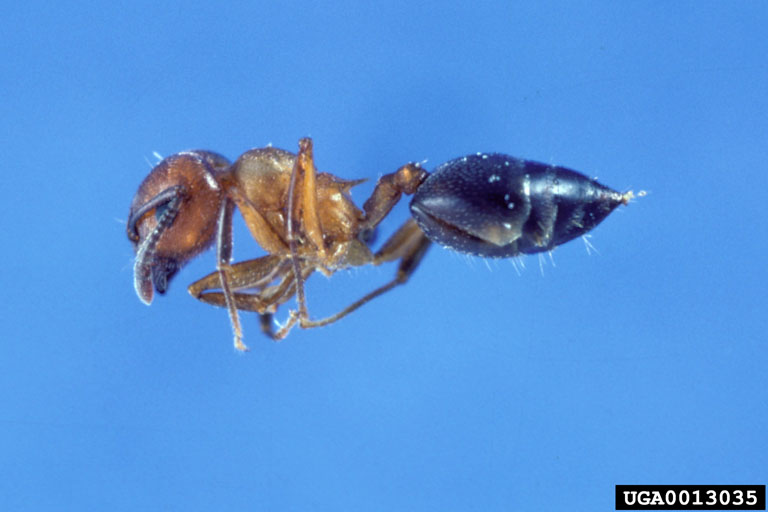
Let's go through a toy example for preparing a custom dataset. Suppose we are going to classify bees and ants.
First of all, we have to split the images for bees and ants into train and validation set respectively (recommend 8:2). Then, we can move the images into difference folders with their class names. The dataset folder will have the following structure.
```shell
- image data
-- train
--- ants
--- bees
-- val
--- ants
--- bees
```
Now, we have finished preparing the dataset.
# Train
Following the examples in the previous section, let's finetune a pretrained model on our custom dataset. The pretrained model we used here is the MobileNet model. We download the pretrained model from [Model_Zoo](https://github.com/kneron/Model_Zoo/tree/main/classification/MobileNetV2) by:
```shell
wget https://raw.githubusercontent.com/kneron/Model_Zoo/main/classification/MobileNetV2/MobileNetV2.pth
```
Since our dataset is quite small, we choose to frezze the backbone model and only finetune the last layer. Following the instruction above, run:
```shell
python train.py --gpu -1 --freeze-backbone 1 --backbone mobilenetv2 --early-stop 1 --snapshot MobileNetV2.pth --snapshot-path snapshots/exp/ ./tutorial/image_data
```
The following training messages will be printed:
```shell
{'data_dir': './tutorial/image_data', 'model_name': 'model_ft', 'model_def_path': None, 'lr': 0.001, 'backbone': 'mobilenetv2', 'gpu': -1, 'epochs': 100, 'freeze_backbone': 1, 'batch_size': 64, 'snapshot': 'MobileNetV2.pth', 'snapshot_path': 'snapshots/exp/', 'optimizer': 'SGD', 'loss': 'cross_entropy', 'early_stop': 1, 'patience': 7}
Initializing Datasets and Dataloaders...
-------------Label mapping to Idx:--------------
{0: 'ants', 1: 'bees'}
------------------------------------------------
Params to learn:
model.classifier.1.weight
model.classifier.1.bias
Epoch 0/99
----------
train Loss: 0.7786 Acc: 0.4303
val Loss: 0.6739 Acc: 0.6056
Validation loss decreased (inf --> 0.673929). Saving model ...
...
```
When the validation mAP stops increasing for 7 epochs, the early stopping will be triggered and the training process will be terminated. The trained model is saved under `./snapshots/exp` folder. In addition, the class label to idx mapping is printed and automatically saved in `./eval_utils/class_id.json`.
# Converting to ONNX
You may check the [Toolchain manual](http://doc.kneron.com/docs/#toolchain/manual/) for converting PyTorch model to ONNX model. Let's go through an example for converting FP_classifier PyTorch model to ONNX model.
Execute commands in the folder `classification`:
```shell
python pytorch2onnx.py --backbone mobilenetv2 --num_classes 2 --snapshot snapshots/exp/model_ft_best.pth --save-path snapshots/exp/model_ft_best.onnx
```
We could get `model_ft_best.onnx`.
Execute commands in the folder `ONNX_Convertor/optimizer_scripts`:
(reference: https://github.com/kneron/ONNX_Convertor/tree/master/optimizer_scripts)
```shell
git clone https://github.com/kneron/ONNX_Convertor.git
```
```shell
python ONNX_Convertor/optimizer_scripts/pytorch2onnx.py snapshots/exp/model_ft_best.onnx snapshots/exp/model_ft_best_convert.onnx
```
We could get `model_ft_best_convert.onnx`.
# Inference
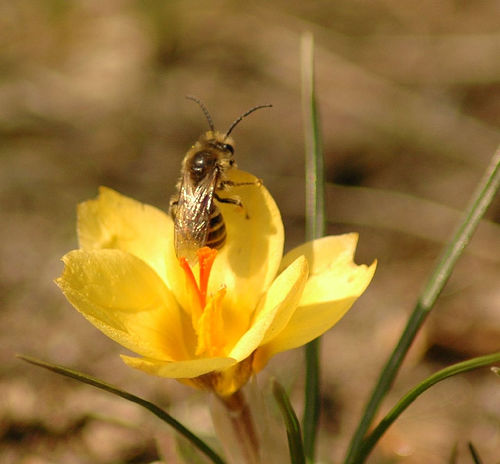
In this section, we will go through an example of using a trained network for inference. That is, we will use the function `inference.py` that takes an image and predict the class label for the image. `inference.py` returns the top $K$ most likely classes along with the probabilities. Let's run our network on the following image, a bee image from our custom dataset:
```shell
python inference.py --gpu -1 --backbone mobilenetv2 --snapshot snapshots/exp/model_ft_best.pth --model-def-path models/MobileNetV2/ --class_id_path eval_utils/class_id.json --img-path tutorial/image_data/val/bees/10870992_eebeeb3a12.jpg
{'img_path': 'tutorial/image_data/val/bees/10870992_eebeeb3a12.jpg', 'backbone': 'mobilenetv2', 'class_id_path': 'eval_utils/class_id.json', 'gpu': -1, 'model_def_path': 'models/MobileNetV2/', 'snapshot': 'snapshots/exp/model_ft_best.pth', 'save_path': 'inference_result.json', 'onnx': False}
Label Probability
bees 0.836
ants 0.164
```
Note that the class ID mapping file `eval_utils/class_id.json` was created during training process. After inference, we could get `inference_result.json`, which contains the following information:
```bash
{"img_path": "/home/ziyan/git_repo/ai_training/ai_training/classification/tutorial/image_data/val/bees/10870992_eebeeb3a12.jpg", "0_0": [[0.8359974026679993, 1], [0.16400262713432312, 0]]}
```
For onnx inference, add `--onnx` argument when execute `inference.py`:
```shell
python inference.py --img-path tutorial/image_data/val/bees/10870992_eebeeb3a12.jpg --snapshot snapshots/exp/model_ft_best_convert.onnx --onnx
{'img_path': 'tutorial/image_data/val/bees/10870992_eebeeb3a12.jpg', 'backbone': 'resnet18', 'class_id_path': './eval_utils/class_id.json', 'gpu': -1, 'model_def_path': None, 'snapshot': 'snapshots/exp/model_ft_best_convert.onnx', 'save_path': 'inference_result.json', 'onnx': True}
Label Probability
bees 0.836
ants 0.164
```
# Evaluation
## Evaluation on a dataset
In this section, we will go through an example of evaluating a trained network on a dataset. Here, we are going to evaluate a pretrained model on the validation set of our custom dataset. The `./eval_utils/eval.py` will report the top-K score and F1 score for the model evaluated on a testing dataset. The evaluation statistics will be saved to `eval_results.txt`.
```shell
python eval_utils/eval.py --gpu -1 --backbone mobilenetv2 --snapshot snapshots/exp/model_ft_best.pth --data-dir ./tutorial/image_data/val/
{'data_dir': './tutorial/image_data/val/', 'model_def_path': None, 'backbone': 'mobilenetv2', 'snapshot': 'snapshots/exp/model_ft_best.pth', 'gpu': -1, 'preds': None, 'gts': None}
top 1 accuracy: 0.9225352112676056
Label Precision Recall F1 score
ants 0.887 0.932 0.909
bees 0.950 0.916 0.933
```
## End-to-End Evaluation
For end-to-end testing, we expect that the prediction results are saved into json files, one json file for one image, with the following format:
```bash
{"img_path": image_path,
"0_0":[[score, label], [score, label], ...]
}
```
The prediction json files for all images are expected to saved under the same folder. The ground truth json file is expected to have the following format:
```bash
{image1_path: label,
image2_path: label,
...
}
```
For this tutorial, we generated some random prediction data saved under the folder `tutorial/eval_data/preds/`, and the ground turth is saved in `tutorial/eval_data/gts.json`. You may check these files for the format. To compute the evaluation statistics, execute commands in the folder `classification`:
```shell
python eval_utils/eval.py --preds tutorial/eval_data/preds/ --gts tutorial/eval_data/gts.json
{'model_def_path': None, 'data_dir': None, 'backbone': 'resnet18', 'preds': 'tutorial/eval_data/preds/', 'gts': 'tutorial/eval_data/gts.json', 'snapshot': None, 'gpu': -1}
top 1 accuracy: 1.0
Label Precision Recall F1 score
0 1.000 1.000 1.000
1 1.000 1.000 1.000
2 1.000 1.000 1.000
```
The evaluation statistics will be saved to `eval_results.txt`.